Here Lies Charna Ethier. We find her lying on the floor of her soon to be open commercial space, with blistered fingers, muttering something that sounds like garbled Swedish: "Klingsbo! #@% What the? Tjusig! Allen wrench . . . aargh!"

The past two weeks have been spent building IKEA display units, hanging blinds, installing lighting fixtures, and reading instruction manuals.
The cash register has been delivered. The phone and internet have been installed and turned on. You promptly realize the internet has been installed in the wrong location as the new cash register from square must plug directly into the modem. Sigh.
The new stool that should have been so easy to put together . . . well not so easy. It comes in four pieces--should be easy breezy right?--has taken two hours to put together. You promptly realize it's too short. When you sit on your stool behind the cash wrap your neck is waist high to the customer on the other side. Creepy. You are so tired you decide to keep the stool.
An enormous amount of tools are needed. Wire strippers, hammers, levels, drills, industrial strength velcro (more on this later.) I have realized one important concept, it IS possible to build a retail space on a budget but it involves lots and lots of time and sweat equity.
 |
| Howdy Home Depot |
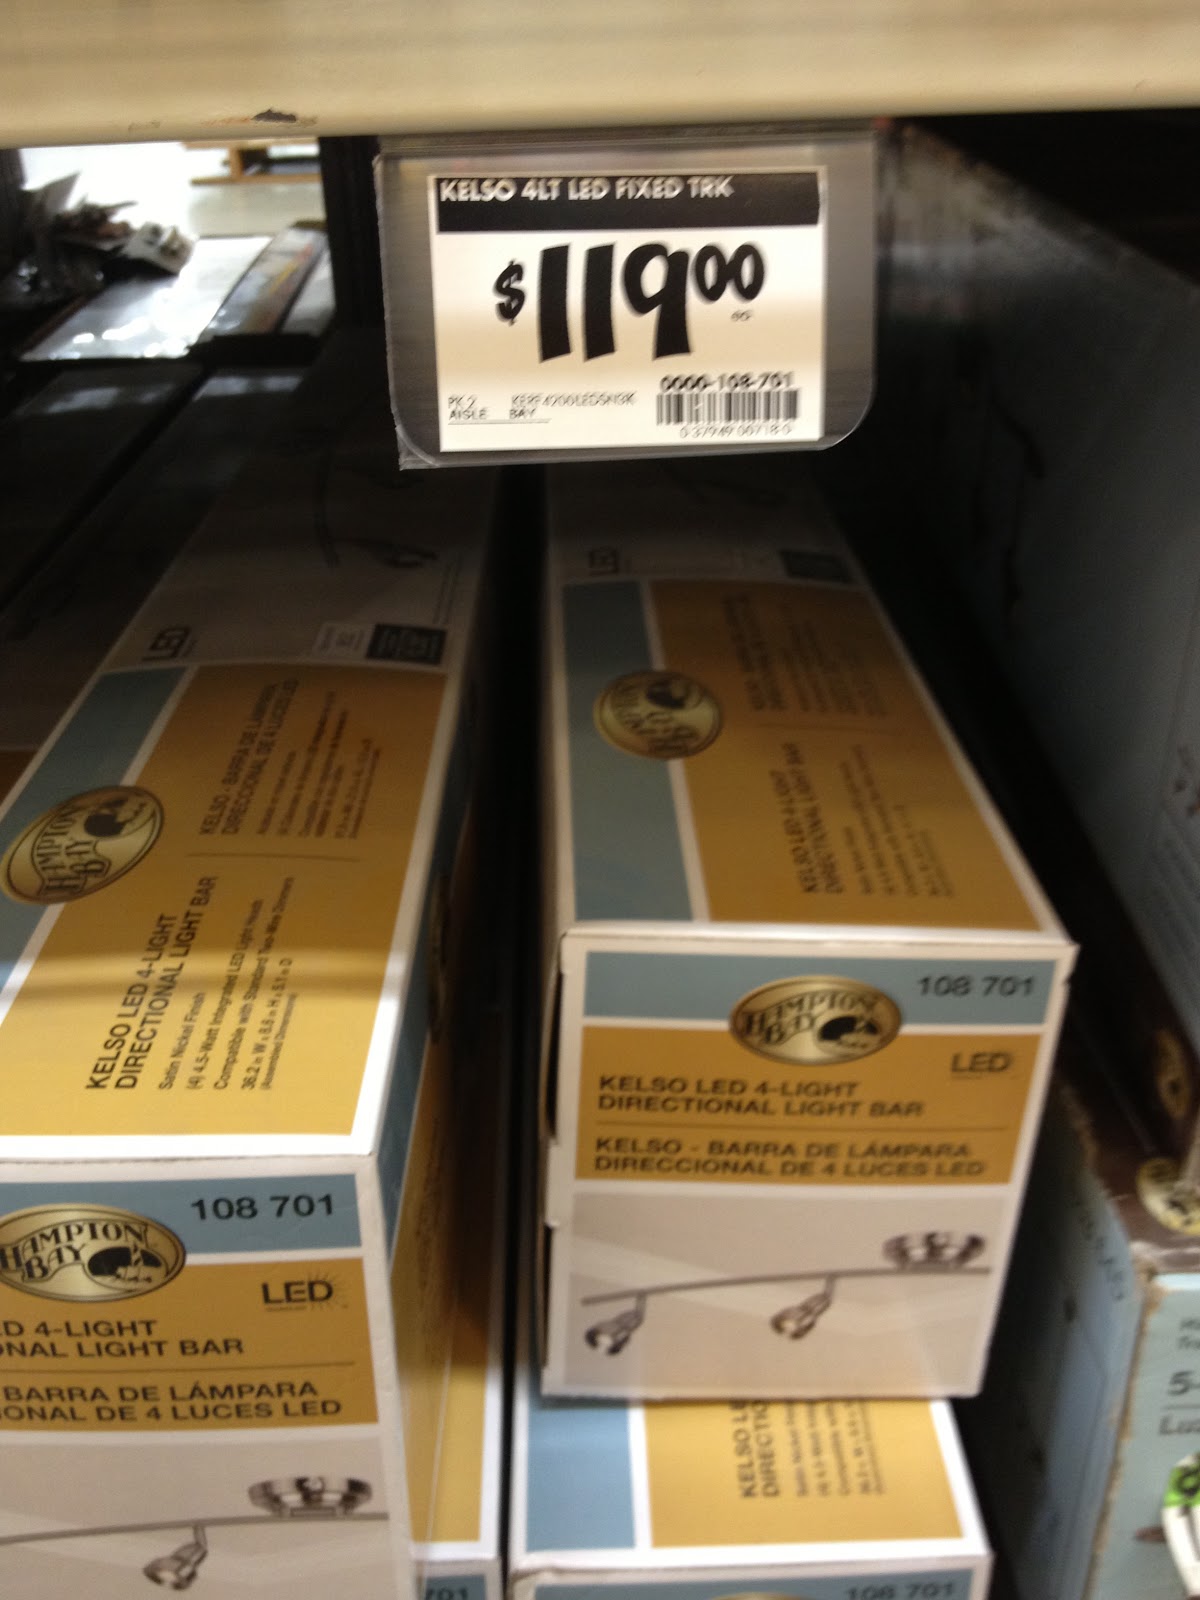
LIGHTING
Lighting is one of the most important aspects of retail. Instead of boring you with the details of my complicated track lighting purchase (suffice to say I decided on LED track lighting which costs more initially but is eco-friendly and energy efficient) I shall regale you with a more glamourous lighting purchase: the chandeliers. I found an incredible deal online for a stunning chandelier. I had looked at the very same chandelier in a local lighting shop and found it for hundreds of dollars less online at amazon.com. Now, I knew there would be some assembly involved with the online chandelier as a local lighting shop explained that they only sold the chandeliers assembled and that they charged a few hundred additional dollars to do so. Being the frugal shopper that I am, I decided I would order the chandelier online and assemble it myself.
 |
| LED track lights installed |
 |
| Purple crystal chandelier over cash wrap |
The good news: the chandeliers arrived in perfect condition! The bad news: perfect, unbroken 985 piece condition! The chandeliers also had to be wired and the instruction were not printed in English. This required stripping the wires as carefully as possible to avoid breaking the fragile glass arms and connecting all the left wires together and all the right wires together. Luckily my husband Dan did this for me. Side note: I did initially start to try and strip the chandelier wires, hitch them together, cap them etc. but my husband stared at me, snorted and commented, "Wow Charna. You look like you're playing the game OPERATION. Your hands are shaking. You know there's no electricity actually connected to the chandelier, right? Just pass me the wire strippers." Score!
Next the chandeliers had to be hung (again I happily opted out of this process.) Finally all 900 little crystals had to be hung on the chandelier, along with strings of crystals. I was on my own for the final step. The clasp on each crystal had to be individually pried open with needle nose pliers, hung and squeezed closed. This took seven hours. Seven hours of sitting on top of a ladder, connecting strands of crystals, counting each bead to make sure all the strands were even, adding little metal jump rings, prying the metal rings apart with pliers and attaching them equally along the arms of the chandelier.
The final result is pictured below and no matter what anyone says, I will swear it's the best looking "snow white" chandelier I've ever seen as I devoted an entire day of my life to assembling it.

 |
| Snow White Chandelier |
SIGNAGE
I contacted a few local sign makers for quotes for an outdoor hanging sign. In the process I learned more about carved signs than I ever imagined. I discovered that Mahogany is the only type of wood that should be used for a sturdy outdoor hanging sign as it is most impervious to the elements. I learned of smaltzing, a process of using ground glass paint that resists sun fading. I learned red, blue and consequently purple colors fade the most quickly on outdoor signs. I learned that while gold leafing is very popular on carved wooden signs, silver leafing is not recommended as it will tarnish outdoors quickly. I learned that carved wooden signs are very expensive. I learned that I could not afford a carved wooden sign.
I ended up ordering a sign that is not made from wood but looks like a carved wooden sign. This type of hanging sign costs almost half of what a mahogany wood sign retails for. The sign I've ordered is a 3 foot circular purple sign with my logo printed in silver (but not silver leaf.) I found it interesting when looking for signage that there are few options in the middle price range. It seems you spring for an expensive sign or your other options are few and far between, such as a plastic banner.
Outdoor hanging sign ordered and due to be delivered in a few weeks, I proceeded to have window laminates made as the shop is on a busy street and the sign may not be visible while driving as it hangs perpendicular to the street. The window stickers were hung as soon as they were printed as I worried about having deliveries made to the new shop with no signage. Once the window stickers were in place I felt a huge sense of euphoria. The shop felt tangible. I'm embarrassed to admit I teared up for a moment and hugged the sweet grandfatherly Italian sign maker causing him to blush. My logo in the window! I felt such a sense of accomplishment. I am here!
 |
| sweet sign maker posting hours on the front door |
 |
| silver window laminates pre-installation |
 |
| applying the front picture window |

Here are the shop windows from outside:


After the window stickers were applied I promptly covered the windows with paper, so the mess inside wouldn't be visible from the street. Once or twice I forgot to lock the front door after receiving a delivery, and people would walk into the shop which was alarming. I realized quickly I needed to make it clear we weren't open yet and hide the construction inside.
My next step was to finish buying, moving and assembling the furniture. I decided on a white somewhat modern style. Having a single color palette made things easier for me. The bulk of the displays were purchased at Ikea and we visited often enough that the kids developed a fondness for elderflower juice and cinnamon buns the size of their heads. I knew I was in trouble when I stopped getting lost in Ikea. After providing particularly helpful directions to a couple seeking discounted Expedit bookshelves, I realized I needed to leave Ikea and not return for some time.
Next installment: "Finishing Up, Why Having A Flexible Launch Date is Important" otherwise entitled "You Didn't Actually Think You Would Open On Time Did You?"
Click here to visit our website.
3 comments:
Charna, it looks BEAUTIFUL. And I never, ever use cap locks.
It is looking amazing! I wish I could visit when you open - but alas, I am in Australia (maybe one day).
Very good blog thanks for sharing.
Post a Comment